If you are unsure if you need to splint, measure every week in babies under one month, every two weeks in babies under three months, and each month in babies older than this. This will help you to check if the ears are slowly drifting outwards, and to decide whether or not you should splint.
 Home
Home  Anatomy of the Ear
Anatomy of the Ear

Measuring Ear Prominence
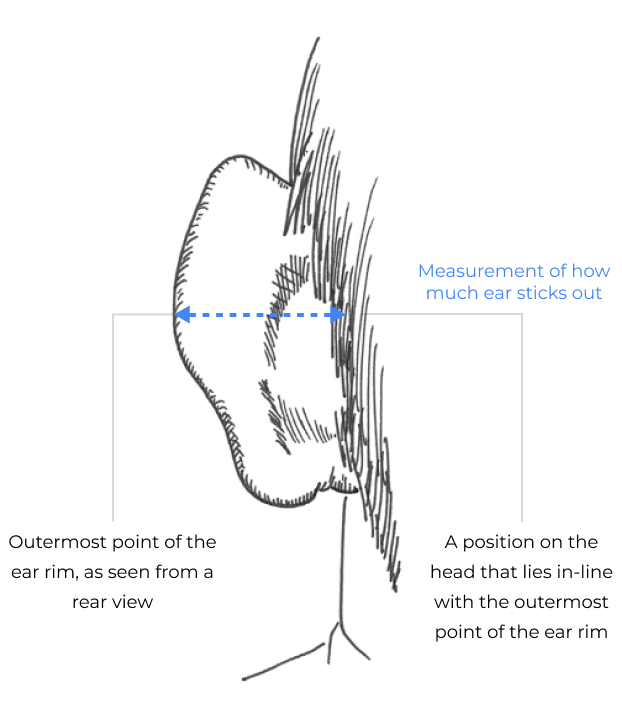
The easiest way to monitor the progress is to take photographs from the front, the side, and particularly from behind at regular intervals. If you want to be more precise, the diagram below shows how to measure how much an ear sticks out.
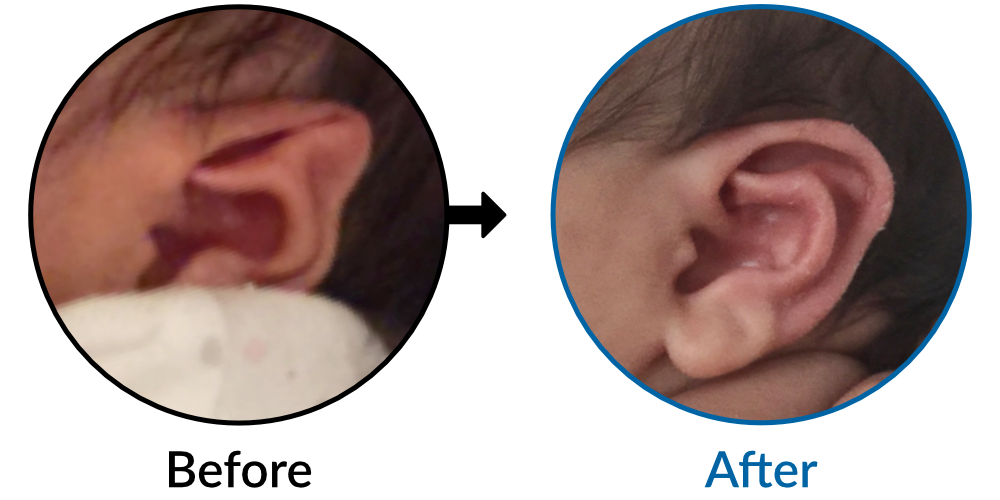
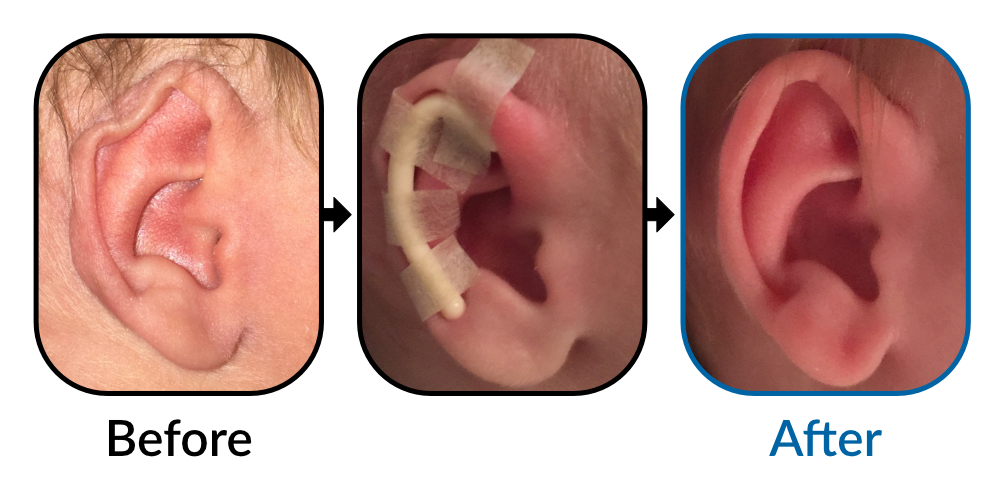
Before splinting:
During splintage:
After splintage:
If you are unsure if you need to splint, measure every week in babies under one month, every two weeks in babies under three months, and each month in babies older than this. This will help you to check if the ears are slowly drifting outwards, and to decide whether or not you should splint.
Before splinting:
During splintage:
If you want to precisely monitor the improvement in a Stick-Out Ear since you started using EarBuddies, take the measurement before you begin splintage and then each time you change the tapes, as the ear will be temporarily freed from the side of the head.
After splintage:
When you have finished splinting a Stick-Out Ear, measure the prominence as soon as the splints are removed, then again 24 and 48 hours afterwards. If this measurement remains constant then it is likely that you have done enough. Sometimes, the ears can move out very slowly, so check again at 7 days, and if you are uncertain, it is best to persevere with splintage for a little longer to be sure.


